Run on your device
This short guide shows how to install Toit, flash the Toit firmware on your ESP32, setup your local development environment, and finally deploy a Toit application on your ESP32 over-the-air.
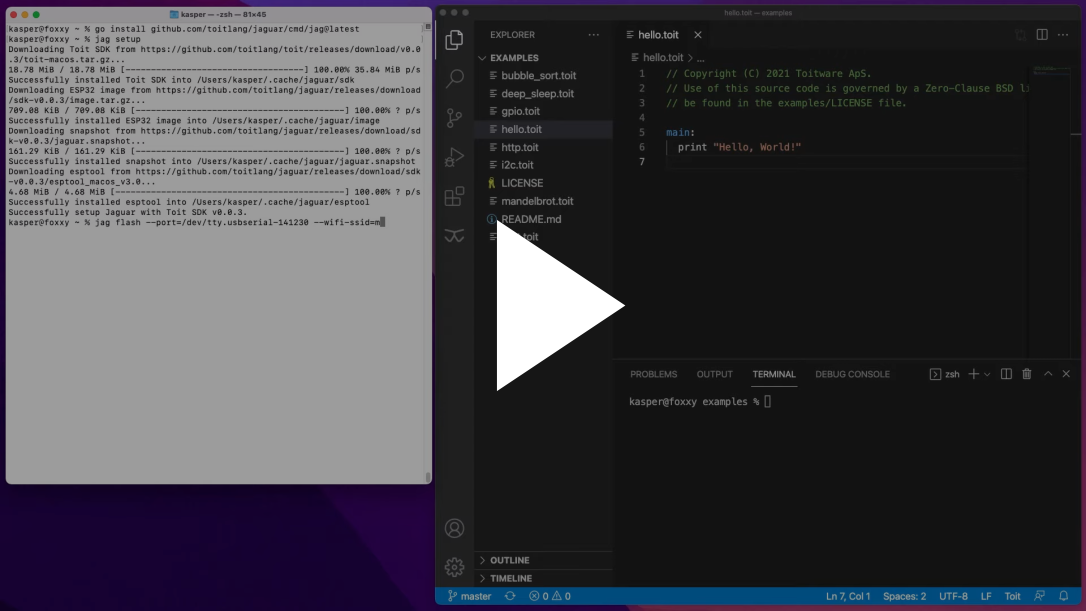
It uses the open-source Jaguar service to enable live reloading when developing for the ESP32. You can watch a short video that shows how you can experience Jaguar on your ESP32 in two minutes:
Ready to try this yourself?
1. Get an ESP32
If you already have an ESP32 available, jump to step 2 to continue. Otherwise, you can buy one at digikey, or any other electronics distributor. Any board that contains a standard ESP32 chip (like the WROOM or WROVER) should be fine. If you have doubts, don't hesitate to ask for guidance on our Discord chat.
2. Install Jaguar
Jaguar is a small, open-source Toit application that runs on your ESP32. It comes with command line tooling to make it easy to tinker with Toit code on your device.
The following describes how to install a precompiled version of Jaguar, including a prebuilt firmware image that is suitable for most ESP32s. If you need to build from source, see the instructions at GitHub.
On Windows 10+ simply open powershell, and run:
For older Windows versions, download and install Jaguar from here.
Run the command jag setup after installation to finish the setup of Jaguar. This step downloads
the Toit SDK and the suitable firmware images.
3. Flash your device
Now it is time to connect your ESP32 with a serial cable to your computer and put the Jaguar
application onto it. Running jag flash will ask you for the serial port to use and the WiFi
credentials, but be aware that the tooling requires
permission to access your serial port.
If you want to avoid typing the WiFi credentials every time you flash, you can store them in Jaguar's config file with:
After flashing, your device boots up and starts the Toit virtual machine. The Jaguar service on the device starts a small HTTP server that listens for incoming requests. You can follow along by monitoring the serial output of the device:
Once the serial output shows that your ESP32 runs the Jaguar application, it will start announcing its presence to the network using UDP broadcast. You can find a device by scanning, but this requires you to be on the same local network as your ESP32:
Having issues? Get help in the support section, or contact us in our Discord chat. We have some experience with flashing devices, and we are happy to help.
4. Run code via WiFi
With the scanning complete, you're ready to run your first Toit program on your Jaguar-enabled
ESP32 device. Create a file hello.toit with the following content:
and then run it using:
At this stage you won't see anything unless you're still monitoring the serial output
(normally connected to your computer via USB). Use jag monitor --attach to start
listening to the serial output. The --attach flag is to make sure we don't reboot
the device. You should start seeing the "Hello, World!" messages printed out.
Jaguar also has a convenient feature where it keeps watching your Toit code on disk and live reloads it whenever the file changes. Simply write:
and edit hello.toit or any of the files it depends on in your favorite editor.
5. Install a container
With jag run a program is only run once, and disappears when the device is rebooted. Jaguar supports
installing named containers that are automatically run when the system boots. They can be used
to provide services and implement drivers for peripherals. The services and drivers can be used by
applications and as such they form an instrumental part of the extensibility of a Jaguar based system.
To install the hello.toit program as a container, use:
After this the program is also run every time the device reboots. You can also list the currently installed containers on a device through:
This results in a list that shows the container image ids and the associated names.
$ jag container list
85c64060-ffbd-5e04-a0dd-252d5bbf4a32: hello
4e9a12bc-7f07-5118-9f04-8ad2bbe476d1: jaguar
6. Install Visual Studio Code
The Toit SDK used by Jaguar comes with support for Visual Studio Code.
Once installed, you can add the Toit language extension
and get full language support for Toit, including syntax highlighting, integrated static analysis, and code completions.
Jaguar already comes with everything you need, so if you can run jag from your PATH, the extension will automatically
find the Toit SDK downloaded by Jaguar and use that.
7. What's next?
Congratulations! You are now ready to start developing applications using Toit. Next step, look in the tutorials or dive into the Toit language guide. If you want to orchestrate your devices through the cloud, you can use Artemis to safely and scalably manage your firmware, containers, and configurations with ease.